Taking orders with XEPOS is simple, quick, and efficient. It can be done through the takeout menu or quick service tab. This is where you and your staff will mostly find yourselves using during service.
Log in to the Ordering section
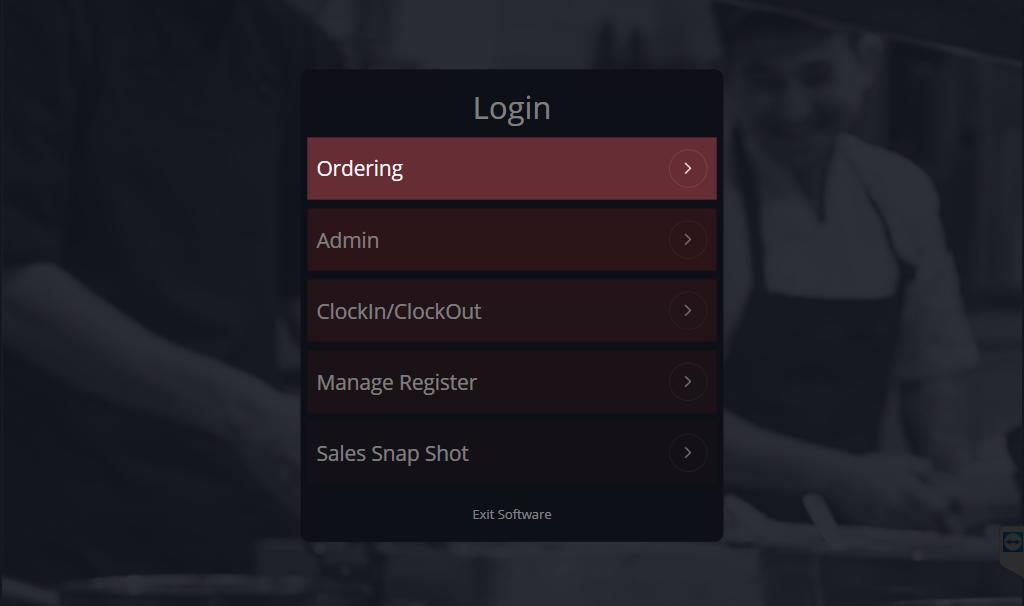
Firstly ensure you are logged in to the Front Office, if not then you can do so by navigating to the Ordering section, tapping on your profile, and entering the passcode.

Add an item inside the basket
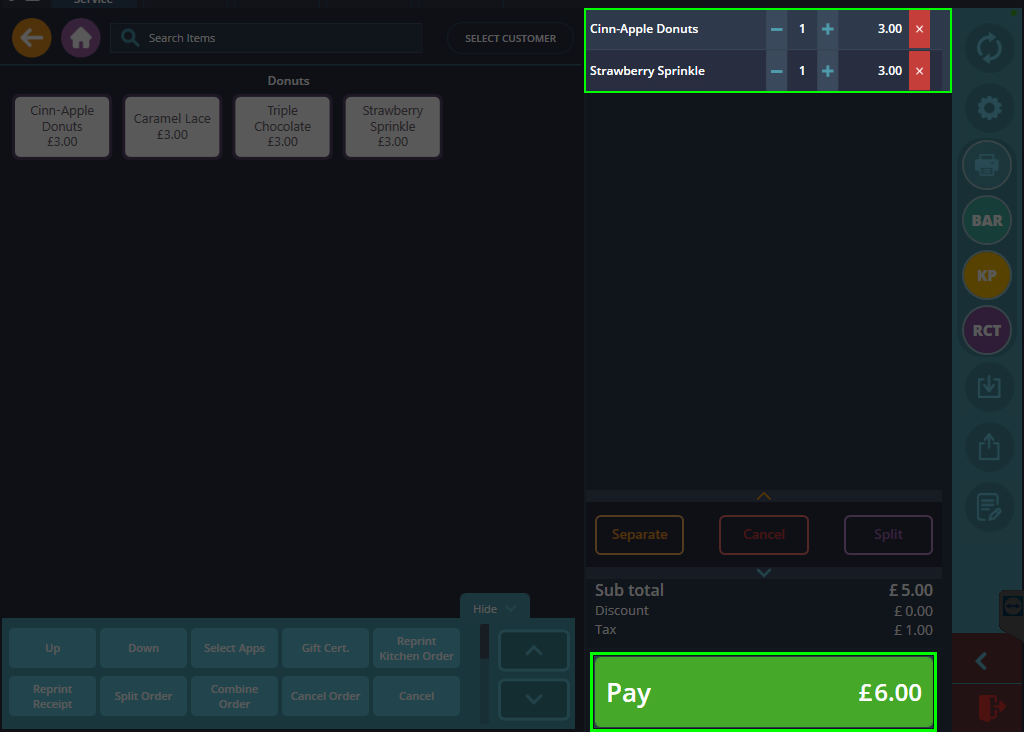
To carry out a new order, simply press on any menu item located on the left-hand side and select the desired options if there are any. Depending on the modifiers applied to it and the categories the item is in, there could be a few stages you have to go through before the item is added to the cart.
Prepare Order For Payment
When you have added your desired items, you will start seeing them stack up one after another within the cart. Once you are satisfied with the order and the customer is ready to pay, you can go ahead and press Pay located at the bottom right of the screen.
Step 4: Select Tender Types Being Used
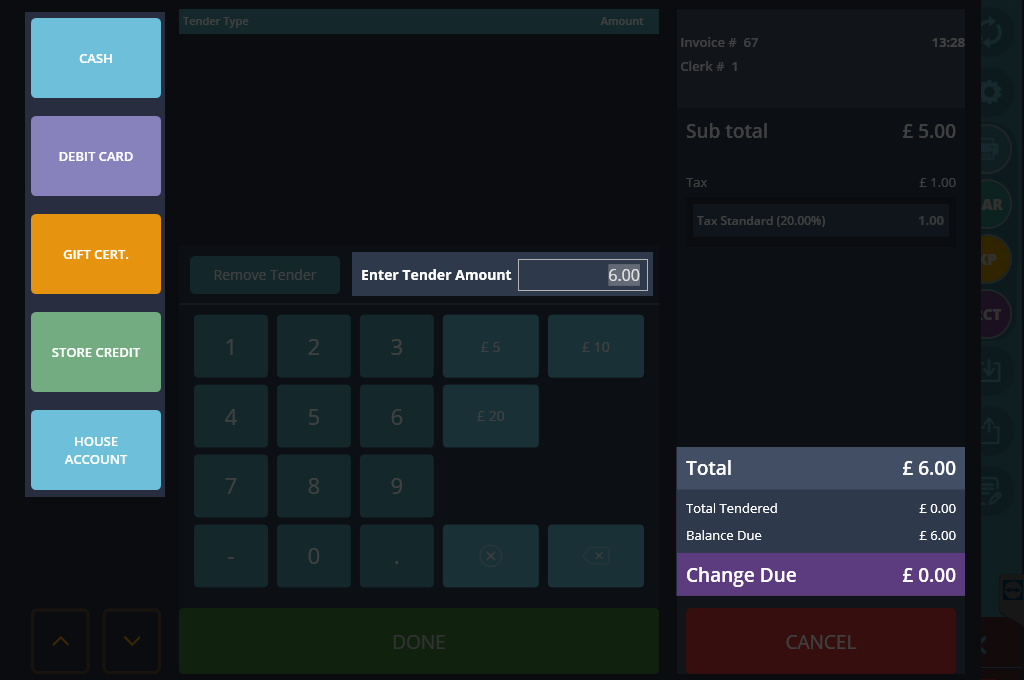
A payment window will come up on the screen displaying the total amount of the order and the different tender types that can be used to pay - each tender type being displayed as a column on the left. Usually customers will pay using only one payment method, for this the amount due is automatically displayed so you just have to press what tender type they are paying with and then press DONE.
Tender types: Different methods used to pay for the order. For example, two tender types most people usually pay with are cash and card, however cheques and gift vouchers could also be considered tender types.
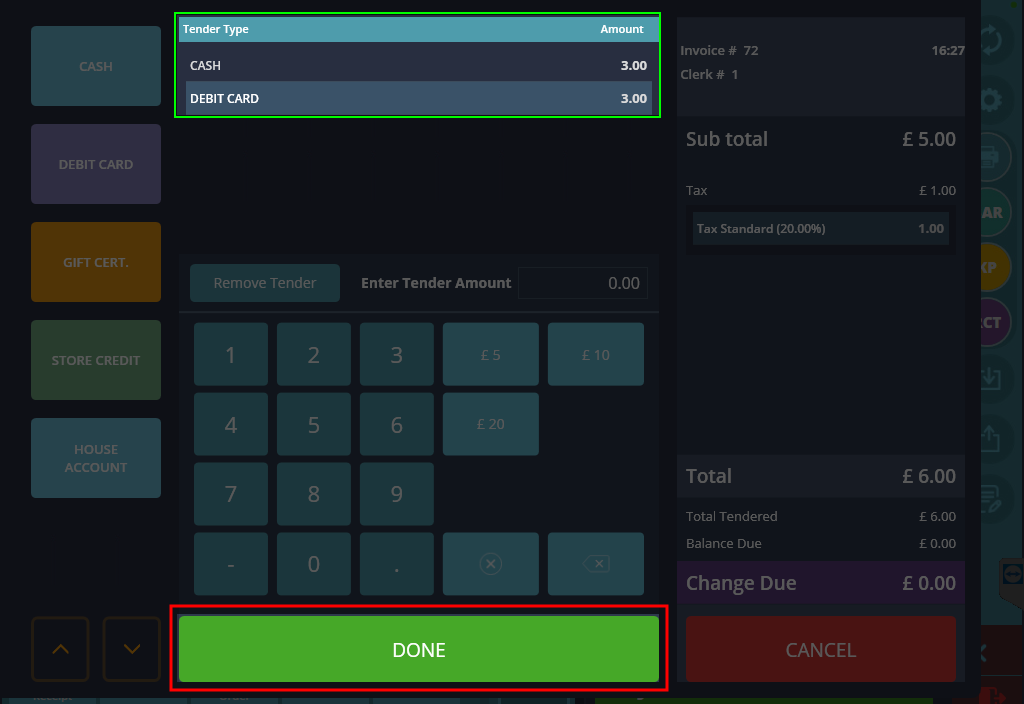
Sometimes you might have to split up a payment in different ways like above. For this order we split the total amount between two tender types - CASH and DEBIT CARD. To do this, simply enter the amount and press the first tender type being used, then repeat the process by entering the remaining amount and pressing on another tender type. You can split the payment up as many ways as necessary. Once satisified, you can go ahead and press DONE.
Tip: There is actually an area within the Back Office where you are able to create your own tender type or rename existing ones. This could be found by heading over to Admin > Others > Tender Types.
Step 5: Confirm Payment And Print Receipt
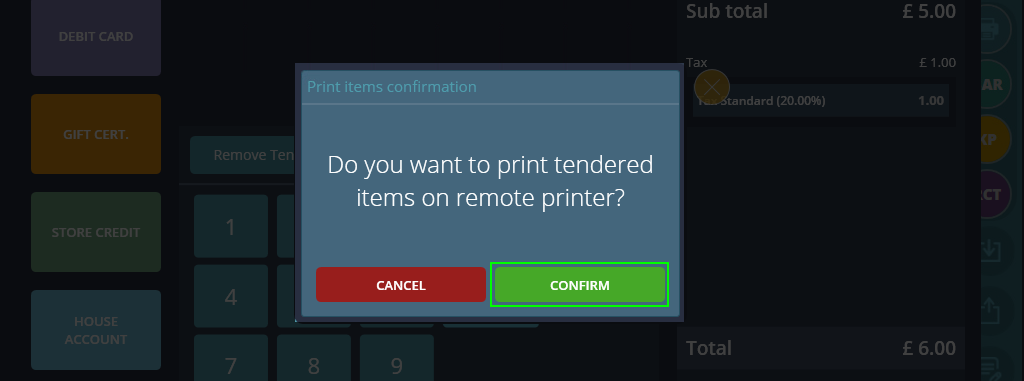
If the payment is successful, you will receive this pop up, asking if you would like to “print tendered items on remote printer?” which is simply another way of asking if you would like to print out a receipt. If the customer would like their receipt, then press CONFIRM.
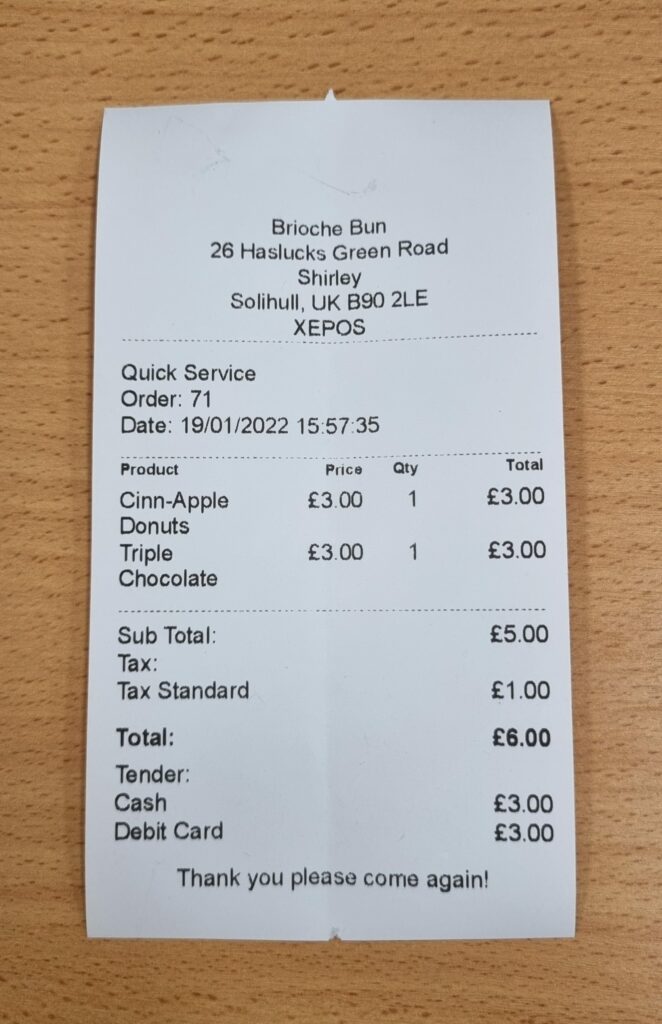
This is what the receipt will look like if you decide to print one out, which you can then hand over to the customer. You have now successfully been able to take your first order.

